Raspberry Pi beginners guide: how to install Raspberry Pi OS
Raspberry Pi beginners guide
How to install Raspberry Pi OS
Raspberry Pi OS is the official operating system for the raspberry pi. as of writing the latest stable version is 32 bit for backwards compatibility with older pi's, but there is a 64 bit Beta.
In this tutorial I'll show you how to Install the 32 bit version, and then I'll walk you through the first steps you have to do when you boot for the first time.
you can watch the video, read the tutorial or both.
Step 1
Install Raspberry Pi Imager
Go to the Raspberry Pi Website and click on 'Software'.

the click on 'Raspberry Pi Imager for [your operating system]. for example I use a Mac, so I clicked on 'Raspberry Pi Imager for macOS'. the Ubuntu version will work on any Linux distro that supports installation from .deb files, Debian, Ubuntu, and Ubuntu or Debian based distros will work.

Now wait for the download to complete.
When the download completes, open the downloaded file and follow installation wizard to install it (the file will be a .exe, .deb, or .dmg depending on what operating system you downloaded for).
Step 2
Flash Raspberry Pi OS to a microSD card
When the installation completes, open Raspberry Pi Imager and click on 'CHOOSE OS' then select Raspberry Pi OS (32-bit) (64 bit isn't available with rpi imager yet).


After double checking everything, click on 'WRITE' you will be asked to confirm, click on 'YES' if you are sure you selected the right microSD card and OS.


Now wait until the flashing completes, this might take anywhere from 10 minutes to 1 hour depending on the speed of your Internet and microSD card.

fun fact: this screenshot is from a raspberry pi running TwisterOS
Step 3
first boot
Insert your microSD card to the slot on the raspberry pi

(the microSD card goes in with the bottom towards the top, not the way it looks in this graphic)
then connect your keyboard and mouse (use the USB 2.0 (the black ones), the USB 3.0 (the blue ones) ports are faster, so use them for usb drives), and your monitor (you will need a micro HDMI to whatever input your monitor has cable or micro HDMI to HDMI and a HDMI to HDMI or whichever input your monitor has.
now power on your monitor and connect the raspberry pi to power (5V, 3A USB-C) and wait until you see the desktop. when booting for the first time the OS will tell you it 'resized root file system' and reboot, that is ok, just wait for the desktop and welcome wizard.

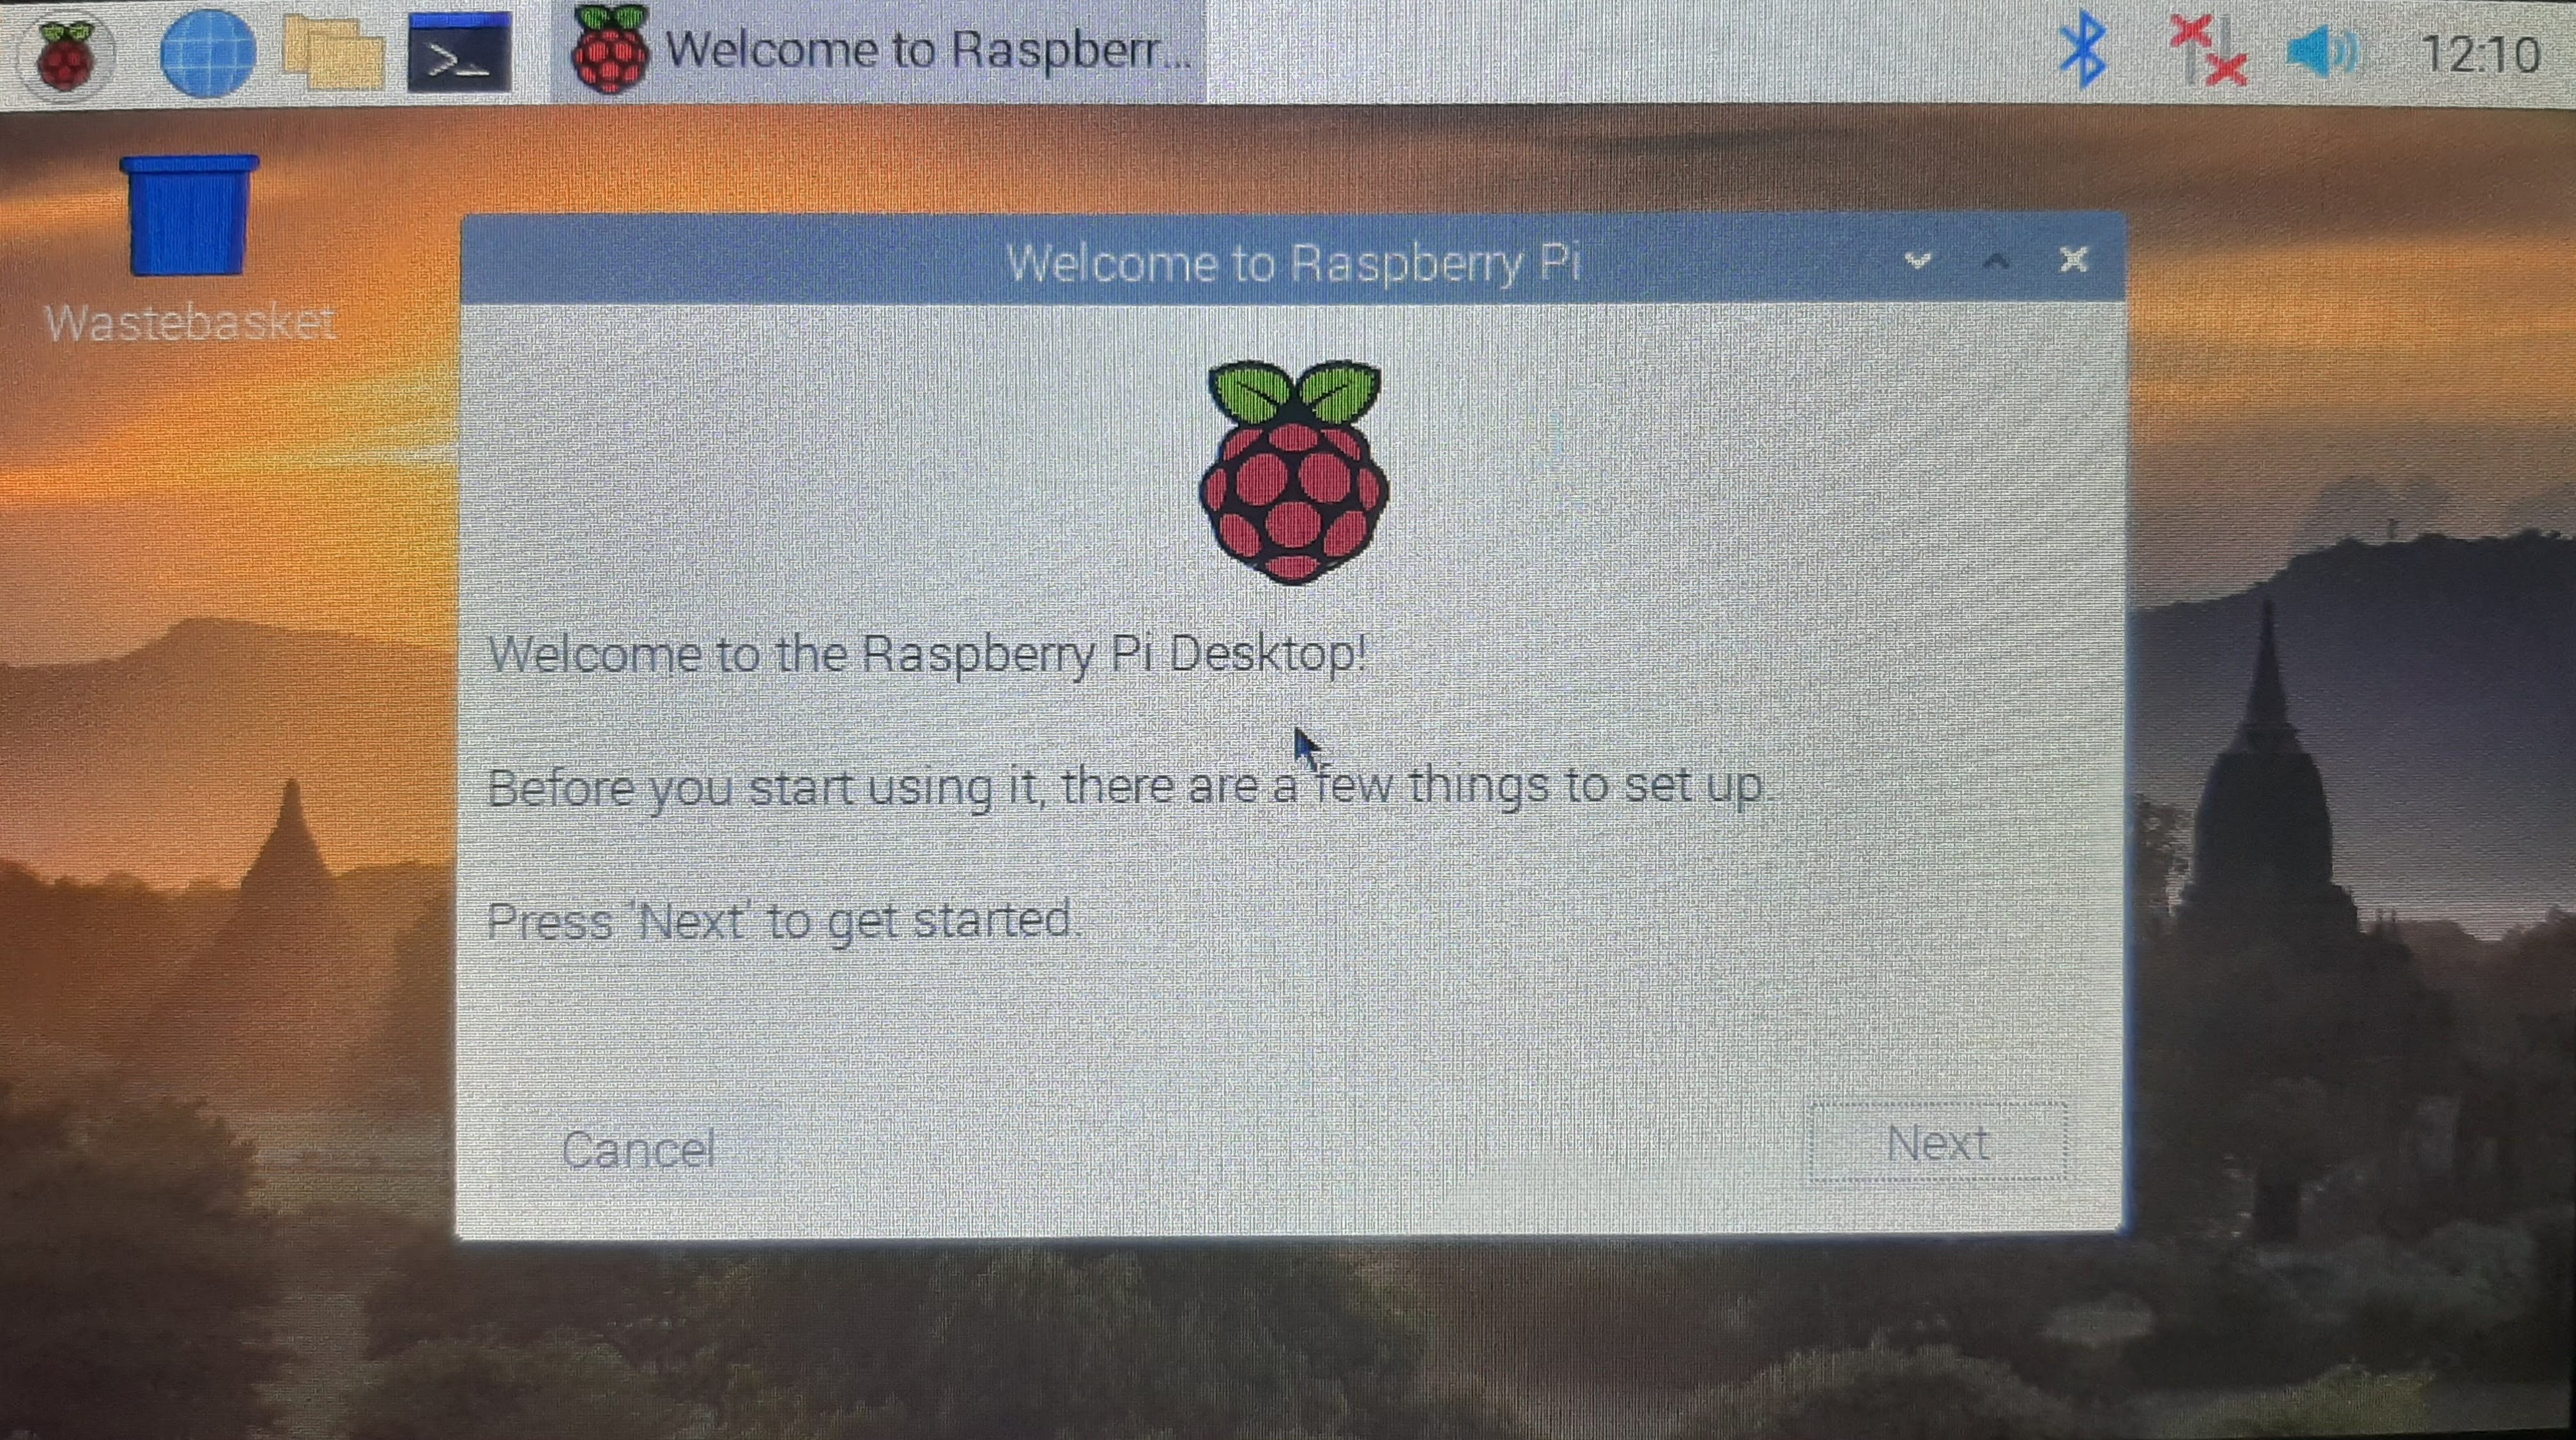
what you will see after the reboot, the desktop and welcome wizard
Step 4
welcome wizard
Just follow the welcome wizard, I'll add pictures of the process

Enter the correct info, if you don't put the right info, wifi country won't be correct. and than the pi will try to connect to wifi in ways that might be illegal in your country.

Enter and confirm a new password, it isn't recommended not to change. the default password is: raspberry

If there is a black border around the desktop check this option. if you accidentally forgot to, you can do it later by disabling 'overscan' in the 'Raspberry Pi configuration tool'

when your network appears, click on it. if you are using a wired connection, I think this step won't appear, but if it does, just skip.

Enter your WIFI password

It isn't recommended to skip this step. to update later, type in terminal: sudo apt update && sudo apt upgrade

Step 5
Done!

You are now done!
I hope this tutorial helped you!
thank you for reading!
click the subscribe button at the top to get notified when I post something
(next time: how to customize RaspberryPiOS)
this video is going to be uploaded to my Pi channel that can be found here, my other channel can be found here.
my other blog.


Comments
Post a Comment